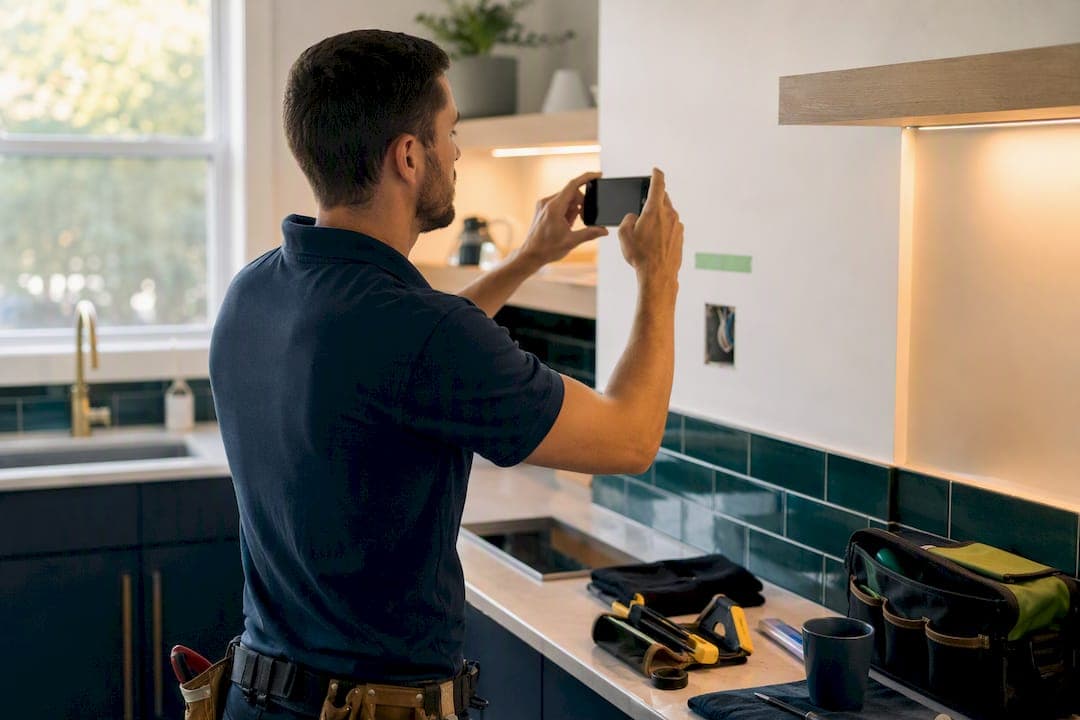
The fastest reliable way to collect job photos is a four-step mobile workflow: capture, name/tag, upload, attach. Do those four things on-site, every time, and you'll have client-ready records without a second trip or a scramble through your camera roll later.
What makes this work is consistency, not fancy gear. A timestamp, a job tag, and a one-line caption turn a random photo into evidence you can use for a quote, a dispute, or a follow-up job. Pair that habit with job pipeline software like Query Trade, and every photo lands against the right enquiry automatically.
- Capture: wide shot plus close-up, before you touch anything
- Name/tag: jobID, date, short caption
- Upload: same day, ideally same hour
- Attach: link to the job record, not a loose folder
Key Takeaways
Collecting job photos reliably comes down to one repeatable habit: capture, name, upload, attach, every time, on every job.
| Point | Details |
|---|---|
| Use the four-step loop | Capture, name/tag, upload, attach every photo within minutes of taking it. |
| Shoot before, during, after | Wide context shots plus close-ups protect you in quoting and dispute situations. |
| Match before/after angles | Use a fixed marker like a doorway or tile line for accurate comparisons. |
| Name and back up consistently | Use jobID_date_caption naming with auto-cloud sync as your default backup. |
| Automate the filing step | Query Trade attaches uploaded photos directly to each job's pipeline stage. |
Table of Contents
- What Photos Should You Collect on Every Job?
- How Do You Take Photos That Are Actually Usable for Quotes?
- What's a Fast Mobile Workflow for Collecting Job Photos?
- How Should You Organize and Back Up Job Photos?
- Which Tools Actually Speed Up Job Photo Collection?
- What Habits Actually Save Time on Site?
- Manage Job Photos Without the Admin Headache
- Further Reading on Job Photo Documentation
- Frequently Asked Questions
What Photos Should You Collect on Every Job?
Every job needs three photo stages: before, during, and after. Skip one and you lose the ability to prove what you found, what you did, and what you left behind.
Before shots should include one wide context shot (the whole room, wall, or roof section) and two or three close-ups of the specific problem: the cracked tile, the corroded pipe joint, the damp patch. During shots document the work in progress, especially anything that gets covered up later, like wiring behind a wall or a pipe run under a floor. After shots need to mirror the before angle exactly, plus a close-up confirming the fix.
- Before: wide room shot + 2 to 3 close-ups of the issue
- During: progress shots of anything that will be hidden or inspected later
- After: matching wide angle + close-up of the completed fix
- Extras: serial numbers, model plates, or damage not related to your job (for liability)
A quick prompt that works on any job: "Shoot the wide, then the close-up, then say the room name out loud for your caption." That habit alone prevents most of the "wait, which bathroom was this?" moments.
Pro Tip: Stand in the same spot for your after shot as you did for the before shot. Use a doorway, a tile line, or a light switch as your marker, and the two images will line up almost perfectly for a before/after comparison.
Get this checklist wrong once, on a job with a dispute attached, and you'll never skip it again. Query Trade's photo upload feature keeps every stage tied to the same job record, so nothing gets lost between your camera roll and your invoice.
How Do You Take Photos That Are Actually Usable for Quotes?
Use natural light whenever you can. Overhead fluorescent lighting and phone flash both flatten detail and wash out the exact thing an insurer or client needs to see, like a hairline crack or a discoloration pattern.
- Light it right. Shoot near a window or door during daylight hours; if you're in a dark attic or crawlspace, use a work light off to the side rather than your phone's built-in flash.
- Add scale. Lay a tape measure, a pencil, or a tool you're already carrying next to the damage so anyone reviewing the photo later can judge size without guessing.
- Keep the angle consistent. Shoot straight on, not from an angle that distorts proportions, especially for anything you'll compare before and after.
- Check focus and file size. Tap to focus before you shoot, and stick with standard JPEG at your phone's default resolution. It uploads faster than HEIC or RAW and opens on any device the client uses.
Don't risk your footing or safety for a better angle. A photo from a stable position beats a dramatic shot from a ladder edge every time.
Pro Tip: Mark your usual shooting spot with a small piece of chalk or tape on repeat jobs, like a landscaping client you visit monthly. It keeps your progress photos lined up without having to think about it.
What's a Fast Mobile Workflow for Collecting Job Photos?
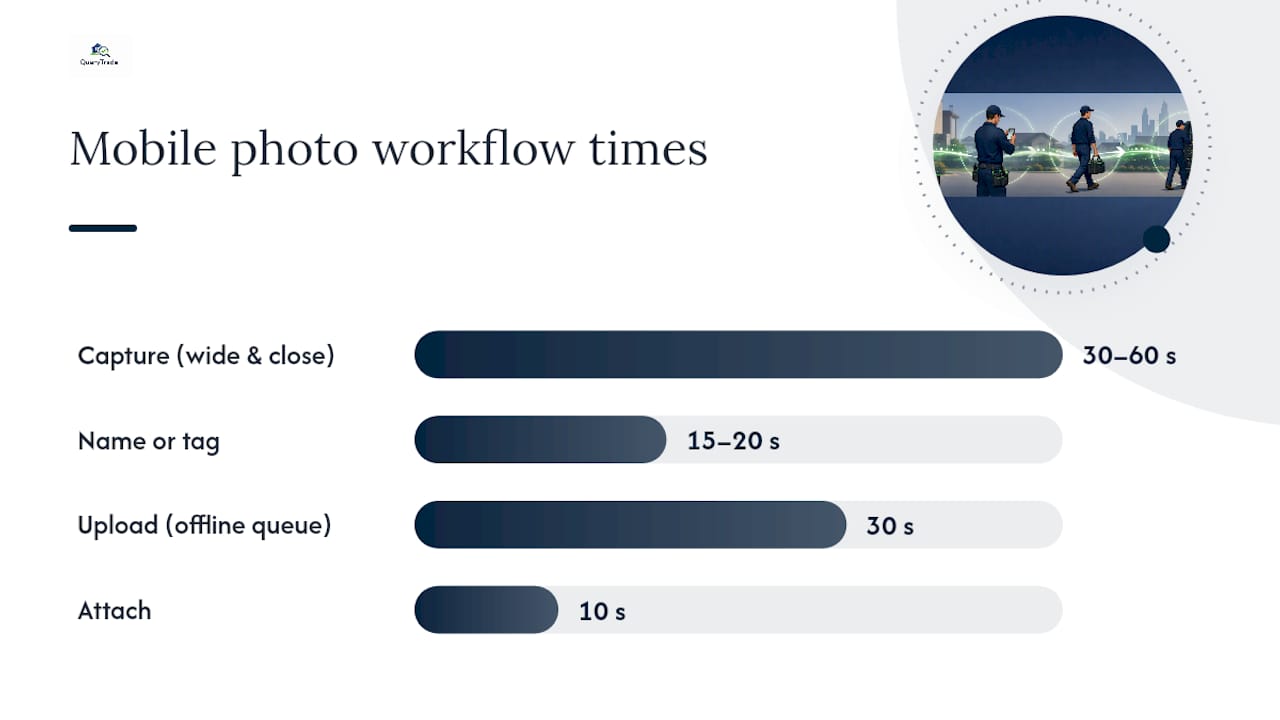
A four-step loop, done on your phone, in roughly two to three minutes per job, keeps photo admin from ever piling up.
- Capture (30 to 60 seconds): shoot your wide and close-up shots per the checklist above.
- Name or tag (15 to 20 seconds): use a quick caption template like "Kitchen, before, tap replacement" or dictate it with your phone's voice-to-text.
- Upload (30 seconds, once you have signal): push photos to cloud storage or directly into your job management app.
- Attach (10 seconds): link the upload to the correct job record so it's not floating in a generic camera roll.
Picture this as a simple loop diagram: phone icon → label icon → cloud icon → job-file icon, looping back to phone for the next job. That visual is worth pinning above your workbench if you're training an apprentice on the habit.
Connectivity on rural jobs or basements is rarely reliable, so capture offline first and let your app queue the upload for when you're back in signal range. Apps built for field teams increasingly offer offline capture that syncs automatically, and real-time uploads paired with location reminders cut down on photos that never make it off someone's phone.
Query Trade handles the tagging and attaching steps for you: upload a photo through the platform and it links straight to the job's pipeline stage, whether that job is marked New, Quoted, or Scheduled. That's two of your four steps done automatically, which is the difference between a two-minute habit and a five-minute chore you start avoiding.
How Should You Organize and Back Up Job Photos?
A simple naming convention beats any folder system you'll actually maintain by hand. Try jobID_date_shortcaption, for example 4471_20260214_kitchen-tap-before. Pair that with a folder structure of Year → Job ID → Stage, and you can find any photo in under ten seconds, even six months later.
- Naming: jobID_date_shortcaption keeps files sortable and searchable without opening each one
- Folders: Year → JobID → Stage (Before/During/After) avoids the dreaded "Camera Roll 2024" scroll
- Backup: auto-sync to cloud storage as your default, with a monthly ZIP export as a second layer
- File format: JPEG uploads faster than HEIC on most job apps; resize before sending if a client's email keeps bouncing large attachments
One more thing worth building into your routine: consent. If a photo shows a client's face, their kids, or clearly identifiable interior details of their home, get a quick verbal or written okay before you share it anywhere public, including your own portfolio or social media. It's a small step that protects you and respects the homeowner.
Manually filing photos into year and job folders works until you hit fifty active jobs, and then it quietly falls apart. Query Trade's job pipeline keeps uploads tied to the job automatically, so there's no folder to build, name, or lose track of.
Which Tools Actually Speed Up Job Photo Collection?
Most tradespeople start with their phone's native camera and a folder system, and that works fine until job volume grows past a dozen or so active projects a month. At that point, three tool categories are worth knowing:
- Native camera + manual folders: free, but relies entirely on your own naming discipline
- Generic cloud storage (Google Photos, Dropbox): fine for backup, weak for job-specific organization
- Dedicated job-photo or job-management apps: built to tag, timestamp, and file automatically
Look for automatic job tagging, timestamps, offline capture, and quick client-ready sharing when comparing options. Query Trade covers photo uploads and job association in one place, which means a photo taken on-site attaches to the right enquiry without you touching a folder. If you want a low-tech starting point today, set your phone's camera to save location data, and adopt the jobID_date_caption naming habit before your next job.
What Habits Actually Save Time on Site?
I always take the wide shot first, before I've touched a single tool. It sounds small, but it's saved me twice from a client claiming damage that was already there.
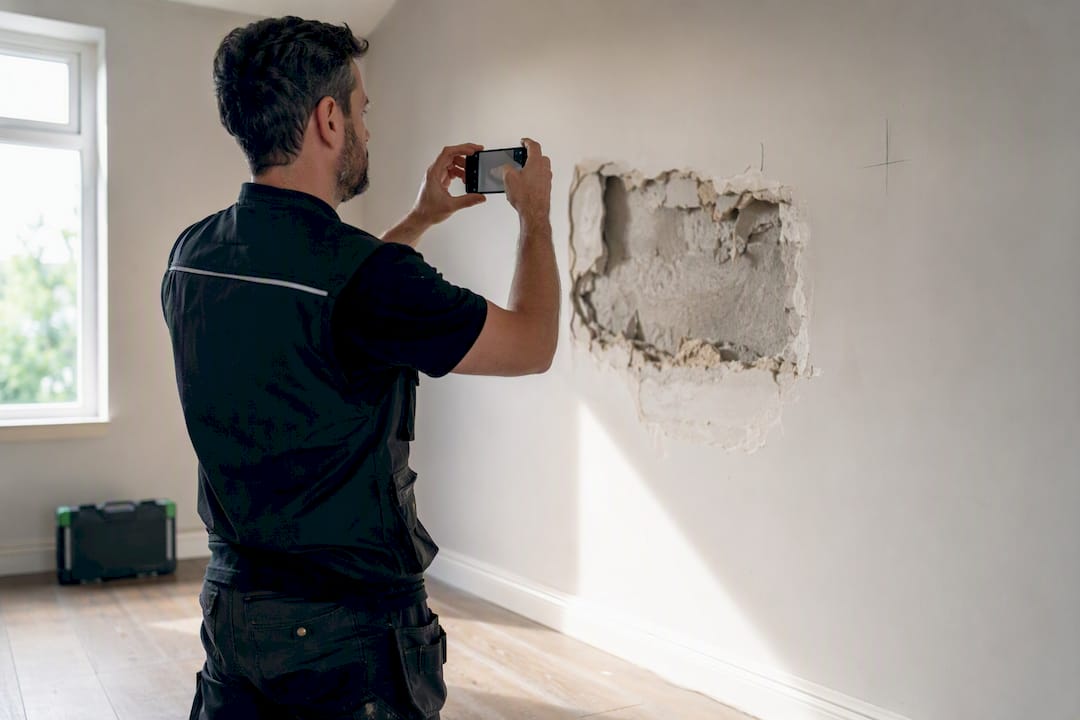
Three habits worth building: shoot before you touch anything, caption out loud with voice-to-text the moment you take the photo, and upload before you leave the driveway, not at the end of the day when you've forgotten which job was which.
Query Trade fits into that last habit particularly well. Because uploads attach straight to the job record, "upload before you leave" takes ten seconds instead of ten minutes of scrolling later.
Manage Job Photos Without the Admin Headache
Query Trade gives you one place to capture, store, and share job photos without the folder juggling. Every photo you upload attaches directly to the job it belongs to, so nothing gets lost between an enquiry and an invoice.

Here's what that looks like in practice: photo uploads tied to each job automatically, instant client sharing without exporting files, before/after sets ready to drop into a quote, and a pipeline view showing exactly which jobs need photos still. Setup takes under five minutes, no technical skills required, and a free 30-day trial lets you test the workflow on real jobs before you commit. If chasing photos across your camera roll is costing you time every week, see how Query Trade's features handle it for you.
Further Reading on Job Photo Documentation
- Offline capture and sync for jobs with poor signal
Frequently Asked Questions
What's the fastest way to collect job photos on-site? A four-step mobile workflow: capture your wide and close-up shots, name or tag them immediately, upload while you're still on-site, and attach them to the job record. The whole loop takes a few minutes per job once it becomes routine.
How many photos should I take per job? Aim for at least one wide context shot and two close-ups at each stage: before, during (if anything gets covered up), and after. That's a typical set of photos for a repair job.
Do I need a special app to organize job photos, or will my phone's camera roll work? A camera roll works for a handful of jobs a month, but it breaks down fast once you're juggling a dozen active enquiries. Dedicated job-management platforms like Query Trade attach photos to the correct job automatically, which saves the manual filing entirely.
Do I need client permission to take or share job photos? Yes, if the photo shows a client's face, family members, or clearly identifiable private interior details. A quick verbal confirmation before you share images publicly, including on social media or in a portfolio, is a reasonable standard to follow.
What file format should I use for job photos? Standard JPEG at your phone's default resolution uploads faster and opens reliably across devices, compared to HEIC or RAW formats that some clients and older systems struggle to open.