
The fastest way to set up job management is to define your job types, build a handful of core statuses, and add one intake method to capture new enquiries. That's it. Everything else, from custom fields to reporting, comes later.
Do these three things in order:
- Create a few job types (service call, quote, installation) so every job gets sorted correctly from the start.
- Set several statuses that track a job from new to done (New, Contacted, Quoted, Scheduled, Completed).
- Add one intake method — a form, a shared link, or an email inbox — so enquiries land somewhere trackable instead of scattered across texts and voicemails.
Once those three pieces exist, you have a working pipeline: jobs come in, get assigned, get scheduled, and get closed with a record you can actually search later.
Key Takeaways
A working job pipeline needs only three things to function: defined job types, a short list of statuses, and one reliable intake method.
| Point | Details |
|---|---|
| Start minimal | Set up 3–5 job types and 5–7 statuses before adding any custom fields. |
| Capture enquiries first | One intake form or link prevents jobs from getting lost in texts and voicemails. |
| Require the essentials | Contact info, address, job type, and scope should be mandatory on every job. |
| Sequence integrations | Add calendar and payment tools first, accounting once the workflow settles. |
| QueryTrade as the shortcut | QueryTrade's pipeline and intake form implement this exact checklist in under five minutes. |
Table of Contents
- What Job Management Actually Delivers For Your Business
- Decisions To Make Before You Touch Settings
- Where To Set Up Job Types, Statuses, And Users
- What Makes A Job Actually Usable Once You Create It
- How To Assign Crew And Schedule Visits Without The Chaos
- Keeping Job Status Accurate And Closing The Loop
- Reports And Integrations Worth Setting Up First
- How QueryTrade Maps The Checklist To A Fast Setup Path
- What Most Setup Guides Get Wrong
- Sources
What Job Management Actually Delivers For Your Business
Job management is a central record that links an enquiry to its schedule, its parts list, its labor estimate, and eventually its invoice. Instead of a job living in three places (a text thread, a notebook, an email), it lives in one, and every person on the team sees the same version.
The payoff shows up fast. Fewer leads get lost because every enquiry lands in a queue instead of a phone that goes to voicemail. Quoting speeds up because the job details and photos are already attached. Invoicing gets cleaner because labor and parts were logged at the time of the job, not reconstructed from memory a week later. Schedules get clearer because everyone can see what's booked and what's still open.
A typical day might look like this: morning triage sorts new enquiries into "quote needed" or "ready to schedule," the crew updates job status from the field as work happens, and the office closes the loop by generating an invoice the moment the status flips to completed.
Pro Tip: Don't wait until you have ten jobs stuck in your head to set this up. The best time to build your pipeline is when you only have two or three active jobs, so you can test the workflow without pressure.
An intake form that funnels every enquiry into one place is the single highest leverage change most trades businesses can make.
Decisions To Make Before You Touch Settings
Most setup mistakes happen because people configure the software before they've decided how their business actually runs. Fix that order first.
Work through these four decisions before opening any settings menu:
- Pick your job types. A small number is plenty at launch. A plumber might use Service Call, Installation, and Quote. Adding more later is easy; removing types that are already attached to old jobs is a headache.
- Choose your core statuses. A handful works for most trades: New, Contacted, Quoted, Scheduled, In Progress, Completed. Decide which of these are terminal, meaning the job is genuinely finished and won't be touched again.
- Decide required fields and edit rights. Contact info and job type should always be mandatory. Decide now whether junior staff can edit a job after a lead tech has scheduled it, or whether that's locked to admins.
- Prepare reusable intake questions. If you always ask the same three questions on a plumbing enquiry, build that into your form once instead of retyping it every time.
A recommended setup sequence moves through job types, then statuses, then details and member types, in that order. Skipping ahead to member permissions before your statuses exist is one of the most common reasons setups get abandoned halfway through. Vendor documentation on avoiding early over-configuration backs this up: a minimal workflow adopted in week one beats a complex one nobody finishes building.
Where To Set Up Job Types, Statuses, And Users
Most job management platforms organize this under a settings menu structured roughly as Settings → Jobs → Types / Statuses / Details. The exact labels vary, but the logic doesn't.
Follow this sequence:
- Create a job type. Open the job types menu, name the type (e.g., "Boiler Service"), and save. Three steps, done. Repeat for each type on your shortlist.
- Create a job status. Open the statuses menu, name the status, and decide if it's a default (what new jobs start as) or a terminal status (what marks a job finished). Setting one default status, like "New," means every incoming job gets sorted automatically instead of sitting unlabeled.
- Add staff and set permissions. Create a record for each team member and assign a basic access level, field staff who can update status and add photos, and admins who can edit job details, pricing, and reports.
Support documentation for job platforms typically walks through creating and managing a job, covering fields, parts, notes, and assignment in that order, which mirrors the setup sequence worth following here. Get these three pieces (types, statuses, users) right once, and you won't touch this menu again for months.
What Makes A Job Actually Usable Once You Create It
A job record only helps your crew if it has enough detail to act on without a follow-up phone call. Require these fields at creation: contact name and number, site address, job type, and a short scope description. Skip any of these and someone ends up calling the customer back to ask what should have been captured on day one.
Photos matter more than most people expect. A field-focused study on job management notes that crews who attach photos early cut down on return visits and speed up quoting, because the tech quoting the job can see the actual site instead of guessing from a phone description.
A few more habits worth building in from day one:
- Log a provisional parts list and rough labor estimate at creation, even if it's a guess. Adjusting an estimate is faster than building one from scratch later.
- Use custom job details (a dropdown, a checkbox, a short text field) to standardize the two or three questions you always need answered, like access instructions or whether a customer is on-site.
- Attach any customer-supplied photos or notes immediately so they don't get lost in a separate message thread.
A well-built intake form does most of this automatically, which is one of the reasons trades businesses lean on one instead of a blank job form.
How To Assign Crew And Schedule Visits Without The Chaos
Assign by skill or role first, not by name. When you're just starting out, tagging a job "needs an electrician" and letting anyone qualified pick it up is faster and more flexible than manually assigning to specific people every time.
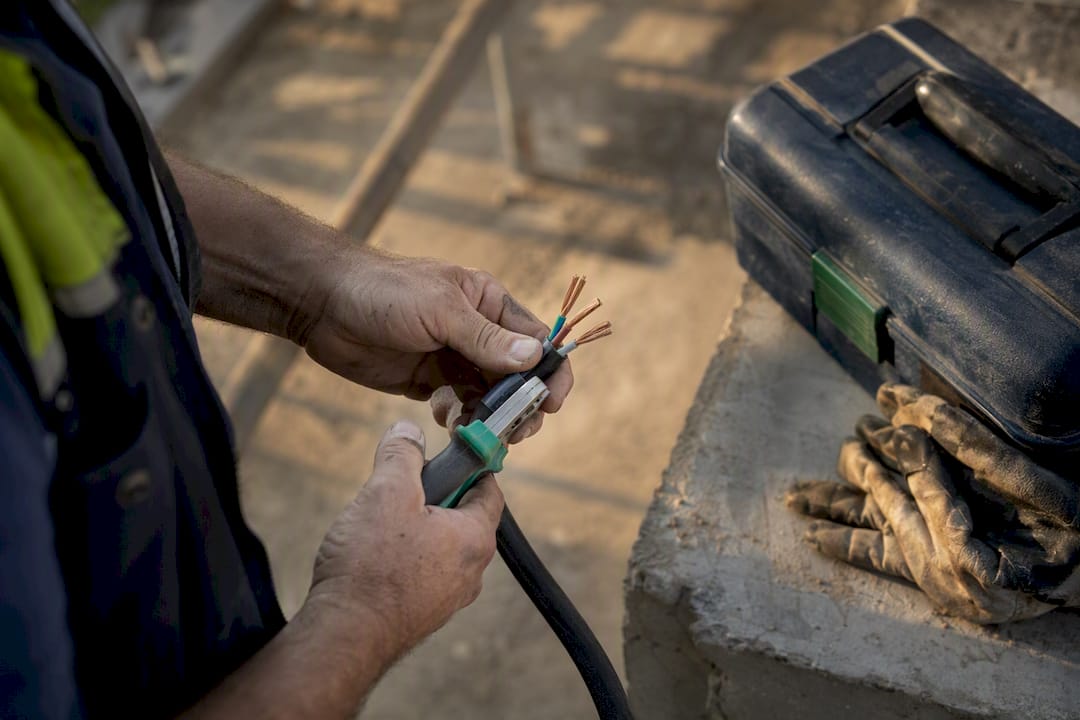
Build in buffer time on the calendar. A 90 minute job booked back to back with no travel allowance guarantees a late arrival on the next one. Recurring slots work well for regular maintenance clients, set the visit once and let it repeat rather than rebuilding the booking every month.
No-shows drop sharply once you add a confirmation step. A text reminder the day before, or a small deposit collected at booking, filters out the enquiries that were never serious in the first place.
Pro Tip: If cancellations are a recurring problem, a deposit collected at the point of scheduling, even a small one, tends to do more than any number of reminder texts.
Tools that combine calendar sync with automated notifications and deposit collection handle this without extra admin work on your end.
Keeping Job Status Accurate And Closing The Loop
Change the status when the job moves to a new stage. Add a note when something happens within that stage. Mixing the two, cramming every update into the notes field while the status sits stale, is how a pipeline stops reflecting reality within a week.

For jobs that repeat, whether it's a warranty check or a seasonal maintenance visit, a repeat flag or a saved template beats recreating the job from scratch each time. It also keeps your history intact if a customer disputes what was done and when.
Before you mark a job complete, run through a short checklist:
- Customer sign-off recorded, whether that's a signature, a photo, or a confirmation text.
- Final parts and labor figures locked in, not the provisional estimate from creation.
- Invoice generated or exported.
- Job photos archived against that job record for future reference.
Reports And Integrations Worth Setting Up First
Four reports cover most of what a growing trades business needs: open jobs by age (what's stalling), jobs by status (where the bottleneck is), jobs by staff member (who's overloaded), and a basic profitability report comparing quoted versus actual cost.
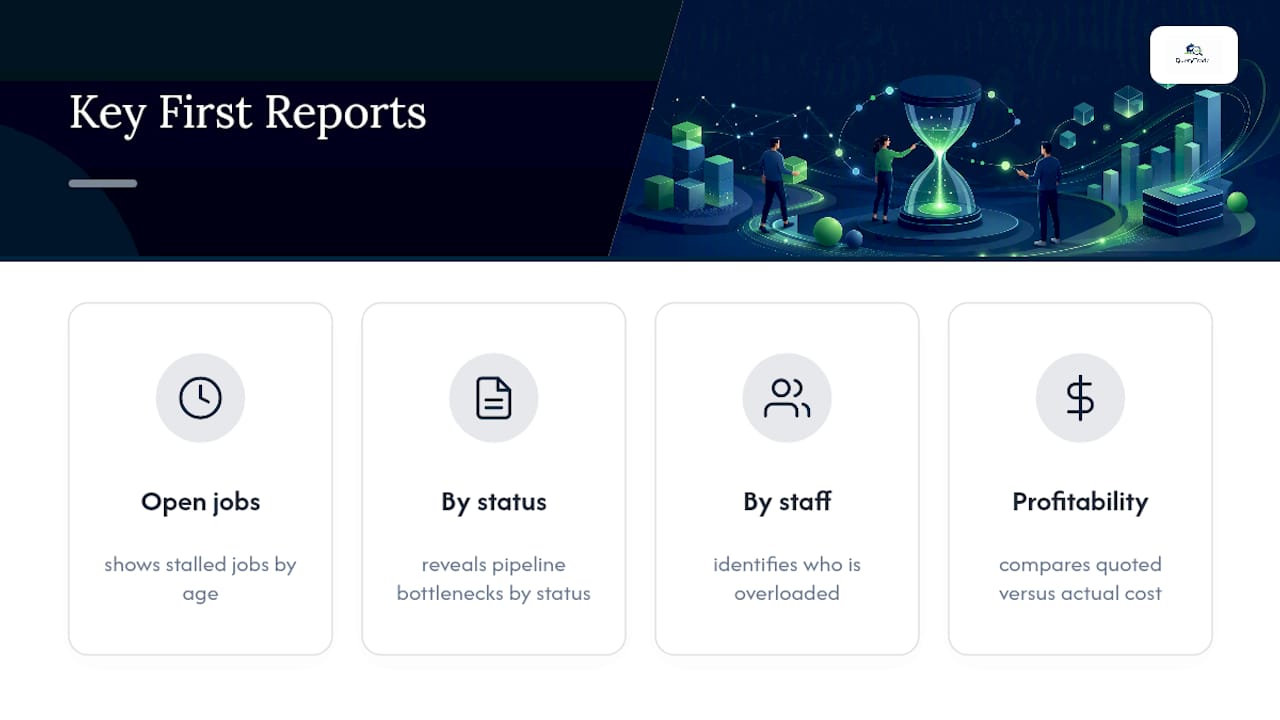
Job management systems commonly link job records to documents, timesheets, and invoices so that field entries flow straight into billing without anyone retyping numbers into a separate accounting tool.
Sequence your integrations. Calendar sync and payment processing (Stripe is the standard for deposit collection) deliver value from day one. Full accounting software integration matters, but it's worth adding only after your job pipeline has run cleanly for a few weeks, once your statuses and job types have settled into something you're not still tweaking.
How QueryTrade Maps The Checklist To A Fast Setup Path
Everything in this checklist maps directly onto a build sequence that QueryTrade was designed around: job types first, then statuses, then an intake link that starts capturing enquiries immediately. The platform's own setup claims a working pipeline in under five minutes, which lines up with the "minimal viable pipeline" approach this whole article has been pointing toward.
The feature mapping is straightforward:
- Intake form replaces the scattered texts and missed calls from the "before you begin" stage.
- Job pipeline (New, Contacted, Quoted, Scheduled, Completed) is the five-status system this checklist recommends, already built.
- Photo uploads and instant notifications cover the "make a job usable" and "assign and schedule" sections without extra setup.
- Deposit collection via Stripe handles the no-show problem directly at booking.
If you're starting from zero, try the free 30-day trial, set your three core statuses first, and layer in job types as real enquiries start arriving.
| Point | Details |
|---|---|
| Setup sequence | Job types, then statuses, then intake link, in that order to avoid rework. |
| Feature match | Pipeline, photo uploads, and notifications directly cover the checklist's core items. |
| Setup speed | QueryTrade's setup is designed to take under five minutes for a working pipeline. |
What Most Setup Guides Get Wrong
Most advice on this topic treats job management setup like a software rollout: weeks of planning, a dozen custom fields, approval chains before a single job gets logged. That approach kills momentum for a five-person plumbing outfit or a solo electrician. The businesses that actually stick with a system are the ones that started small and let real jobs shape the configuration, not the other way around.
The overrated step is customization. Teams spend hours building fields and automations for edge cases that happen twice a year, while the enquiry that came in this morning sits unanswered in a text thread. Get the three basics working first: types, statuses, one intake method. Add complexity only after you've run twenty real jobs through the system and know what's actually missing.
What the conventional advice underestimates is speed to first use. A pipeline that takes a week to configure loses to a messy notebook out of sheer inertia. A pipeline you can build in the time it takes to drink a coffee gets used the same afternoon, and that's the entire difference between a tool that sticks and one that gets abandoned by month two.
Start minimal. Iterate once real jobs are flowing through. That order matters more than any individual setting you'll configure.
— Query Trade
Try QueryTrade: Quick Setup And Trade-Focused Templates
Query Trade turns the checklist in this article into something you can finish before your next job call. The intake form captures enquiries automatically, the job pipeline handles your statuses out of the box, photo uploads attach to each job as it's created, and deposit collection cuts down on no-shows without a single extra step on your part.

It's built specifically for trades, plumbers, electricians, carpenters, builders, painters, so there's no generic project software to bend into shape. Setup takes under five minutes with no technical background required. Start the free 30-day trial and get your first intake form live today, or browse the job pipeline features to see exactly how jobs move from enquiry to completed.
Sources
- Job Settings: Types, Statuses, Details, and Members - Jobman Academy
- Create and manage a job in Job Management - RMS support
- Job Management Software | Aimsio